-
Table of Contents
- Comprehensive Move-In Checklist for Landlords
- Why a Move-In Checklist is Essential
- Pre-Move-In Preparations
- 1. Property Inspection
- 2. Repairs and Maintenance
- 3. Cleaning
- 4. Utilities and Services
- Move-In Day Checklist
- 1. Walkthrough with Tenant
- 2. Provide Essential Information
- 3. Keys and Access
- 4. Lease Agreement Review
- Post-Move-In Follow-Up
- 1. Check-In After One Week
- 2. Regular Maintenance Schedule
- 3. Tenant Feedback
- Case Studies and Examples
- Case Study 1: Successful Move-In Process
- Case Study 2: Avoiding Disputes
- Statistics on Move-In Processes
- Conclusion
Comprehensive Move-In Checklist for Landlords

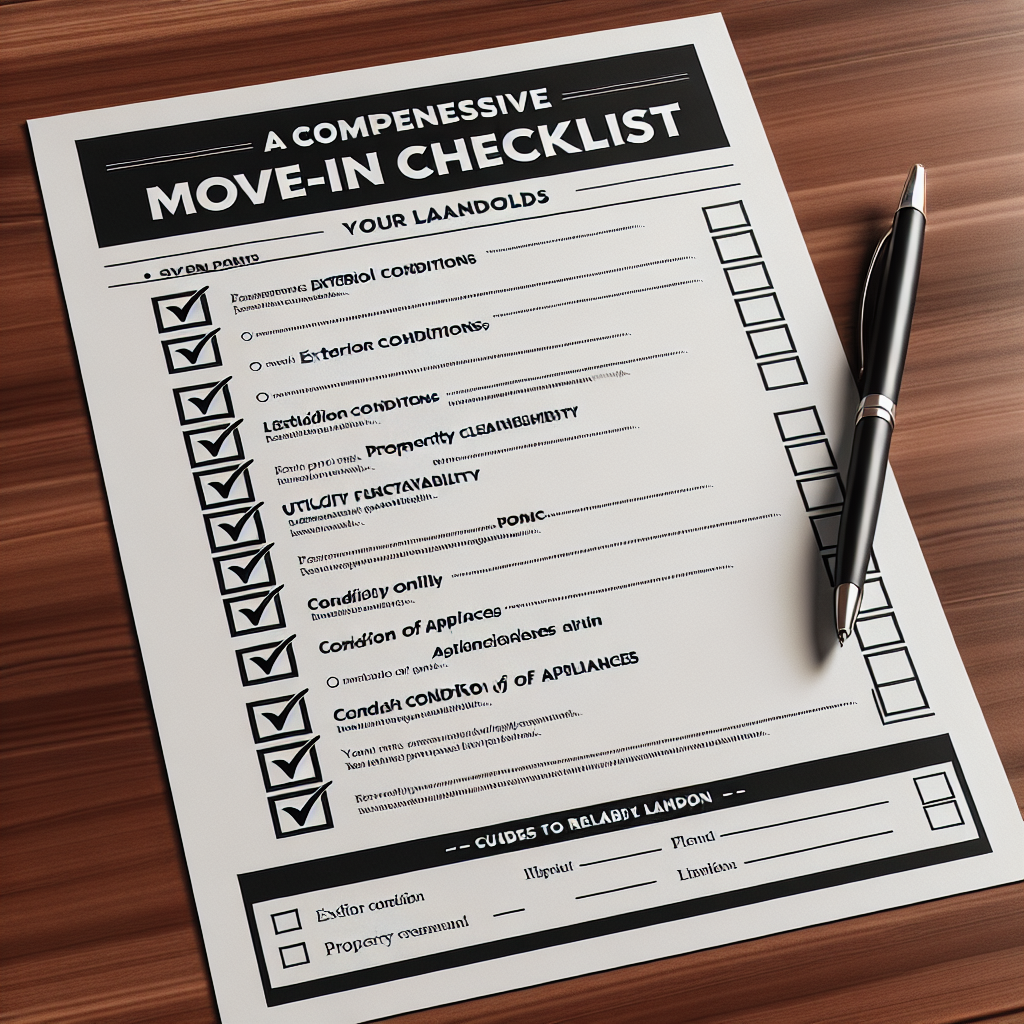
As a landlord, ensuring a smooth move-in process for your tenants is crucial for maintaining a positive landlord-tenant relationship and protecting your property investment. A comprehensive move-in checklist can help you cover all the necessary steps, from preparing the property to documenting its condition. This article provides a detailed guide to creating an effective move-in checklist, complete with examples, case studies, and statistics to support your efforts.
Why a Move-In Checklist is Essential
A move-in checklist serves multiple purposes:
- Documentation: It provides a record of the property’s condition before the tenant moves in, which can be invaluable in resolving disputes over security deposits.
- Communication: It sets clear expectations for both parties, helping to prevent misunderstandings and conflicts.
- Maintenance: It ensures that the property is in good condition, which can help attract and retain quality tenants.
According to a survey by the National Multifamily Housing Council, 84% of renters said that the condition of the property was a significant factor in their decision to rent. Therefore, a well-maintained property can significantly impact your rental business’s success.
Pre-Move-In Preparations
1. Property Inspection
Before your tenant moves in, conduct a thorough inspection of the property. This step is crucial for identifying any issues that need to be addressed. Use a detailed checklist to ensure you don’t miss anything. Key areas to inspect include:
- Structural Integrity: Check for cracks, leaks, and other signs of damage in walls, ceilings, and floors.
- Plumbing: Ensure that all faucets, toilets, and drains are functioning correctly and that there are no leaks.
- Electrical Systems: Test all outlets, switches, and light fixtures to ensure they are working properly.
- Appliances: Verify that all appliances are in good working order.
- Safety Features: Check smoke detectors, carbon monoxide detectors, and fire extinguishers.
2. Repairs and Maintenance
Based on your inspection, address any necessary repairs and maintenance tasks. This might include fixing leaks, replacing broken fixtures, or repainting walls. A study by Buildium found that 62% of tenants cited maintenance issues as a primary reason for moving out, so addressing these concerns proactively can help retain tenants.
3. Cleaning
A clean property is more appealing to new tenants. Hire professional cleaners to ensure the property is spotless. Pay special attention to:
- Kitchens and bathrooms
- Carpets and flooring
- Windows and blinds
- Common areas (if applicable)
4. Utilities and Services
Ensure that all utilities (electricity, water, gas) are set up and functioning correctly. Provide tenants with information on how to transfer or set up their accounts. Additionally, consider offering services such as internet or cable as part of the rental package.
Move-In Day Checklist
1. Walkthrough with Tenant
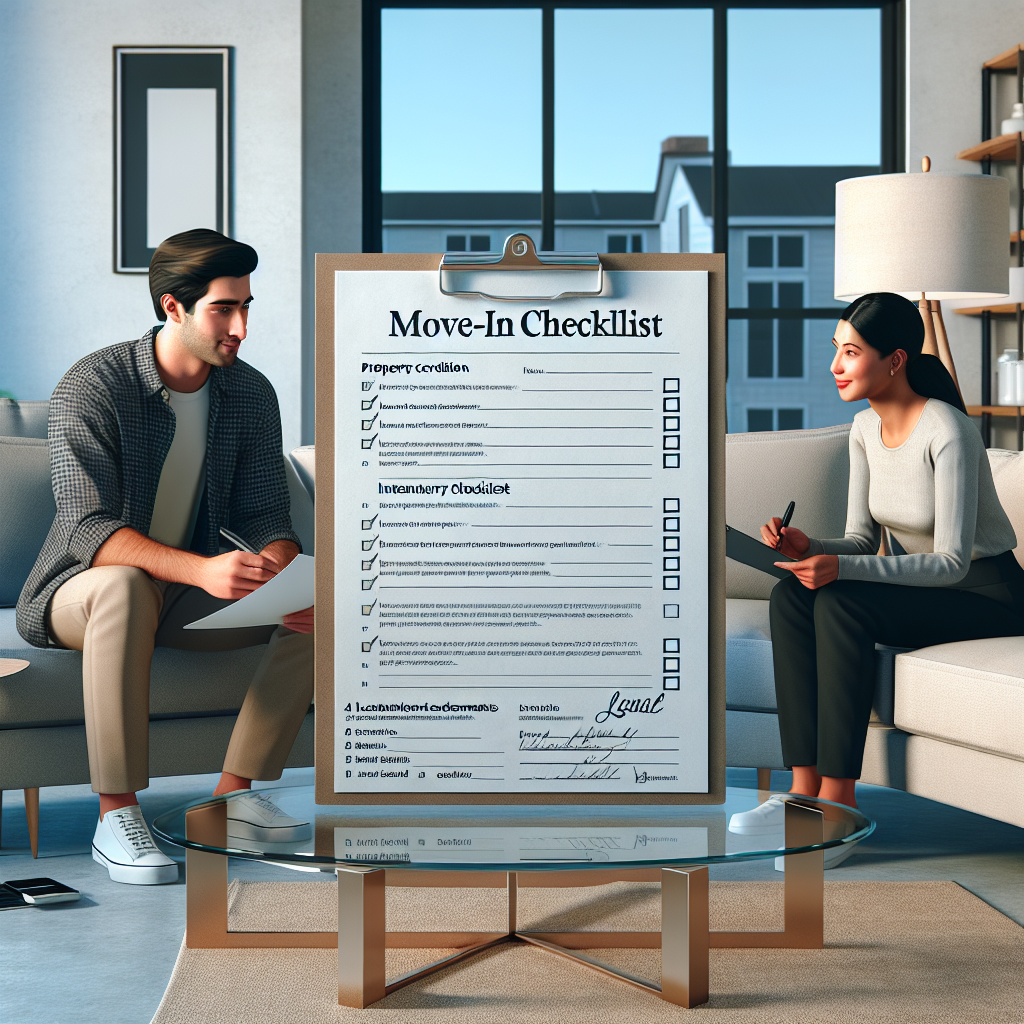
Conduct a walkthrough with the tenant on move-in day. Use a move-in inspection form to document the property’s condition. Both you and the tenant should sign this form to acknowledge the property’s state. Key areas to document include:
- Walls, ceilings, and floors
- Windows and doors
- Appliances and fixtures
- Plumbing and electrical systems
This documentation can be crucial in resolving any disputes over the security deposit at the end of the lease.
2. Provide Essential Information
Give your tenant a welcome packet that includes essential information such as:
- Contact information for property management or maintenance requests
- Emergency contact numbers
- Instructions for operating appliances and systems
- Trash and recycling schedules
- Community rules and regulations (if applicable)
3. Keys and Access
Provide the tenant with all necessary keys, including:
- Main door keys
- Mailbox keys
- Garage or storage unit keys (if applicable)
Consider changing the locks before a new tenant moves in to ensure their security.
4. Lease Agreement Review
Review the lease agreement with the tenant to ensure they understand all terms and conditions. Highlight important clauses such as:
- Rent payment schedule and methods
- Maintenance responsibilities
- Pet policies
- Subletting rules
Both parties should sign the lease agreement, and each should retain a copy for their records.
Post-Move-In Follow-Up
1. Check-In After One Week
Follow up with the tenant one week after move-in to address any immediate concerns or issues they may have encountered. This proactive approach can help build a positive relationship and demonstrate your commitment to their satisfaction.
2. Regular Maintenance Schedule
Establish a regular maintenance schedule to keep the property in good condition. This might include:
- Seasonal HVAC inspections
- Plumbing checks
- Exterior maintenance (e.g., gutter cleaning, landscaping)
Regular maintenance can prevent small issues from becoming major problems and help extend the life of your property.
3. Tenant Feedback
Encourage tenants to provide feedback on their move-in experience and any suggestions for improvement. This feedback can help you refine your move-in process and address any recurring issues.
Case Studies and Examples
Case Study 1: Successful Move-In Process
John, a landlord in New York, implemented a comprehensive move-in checklist for his rental property. He conducted a thorough inspection, addressed all necessary repairs, and hired professional cleaners. On move-in day, he conducted a walkthrough with the tenant, documented the property’s condition, and provided a welcome packet with essential information. John followed up with the tenant one week later to address any concerns. As a result, the tenant was satisfied with the move-in process and renewed their lease for another year.
Case Study 2: Avoiding Disputes
Sarah, a landlord in California, faced a dispute with a previous tenant over the security deposit. To avoid future issues, she implemented a move-in checklist that included a detailed inspection form. During the walkthrough with her new tenant, they documented the property’s condition and both signed the form. When the tenant moved out, Sarah used the form to compare the property’s condition and resolve any disputes fairly. This approach helped her maintain a positive relationship with her tenants and protect her property investment.
Statistics on Move-In Processes
According to a survey by Rent.com, 45% of tenants reported that their move-in process was stressful due to issues such as unclear communication and unresolved maintenance problems. However, landlords who implemented a comprehensive move-in checklist reported a 30% increase in tenant satisfaction and a 20% decrease in disputes over security deposits.
Conclusion
A comprehensive move-in checklist is an essential tool for landlords to ensure a smooth and successful move-in process. By conducting thorough inspections, addressing necessary repairs, and providing clear communication, landlords can create a positive experience for their tenants. This proactive approach not only helps attract and retain quality tenants but also protects the property investment. Implementing a move-in checklist can lead to higher tenant satisfaction, fewer disputes, and a more efficient rental business.
In summary, a well-structured move-in checklist should include pre-move-in preparations, a detailed move-in day checklist, and post-move-in follow-up. By following these steps, landlords can create a seamless move-in experience that benefits both parties and sets the stage for a successful tenancy.


