-
Table of Contents
- Comprehensive Move-Out Checklist for Landlords
- Why a Move-Out Checklist is Essential
- Pre-Move-Out Communication
- Notify Tenants of Move-Out Procedures
- Schedule a Pre-Move-Out Inspection
- Move-Out Checklist Components
- General Cleaning
- Kitchen
- Bathrooms
- Bedrooms and Living Areas
- Exterior Areas
- Final Inspection and Documentation
- Conduct the Final Inspection
- Document the Property Condition
- Provide a Move-Out Statement
- Case Studies and Examples
- Case Study 1: Avoiding Disputes
- Case Study 2: Reducing Turnover Time
- Case Study 3: Maintaining Property Value
- Statistics on Move-Out Processes
- Conclusion
Comprehensive Move-Out Checklist for Landlords

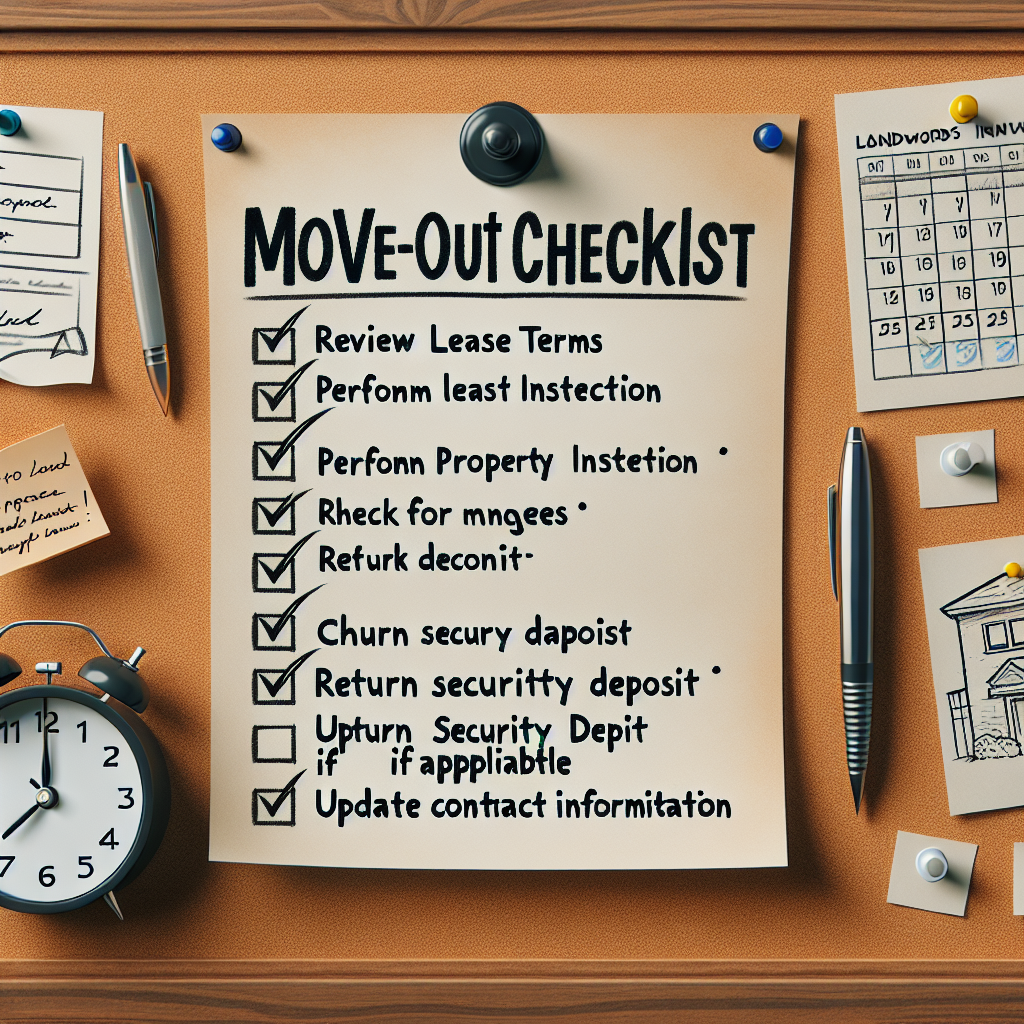
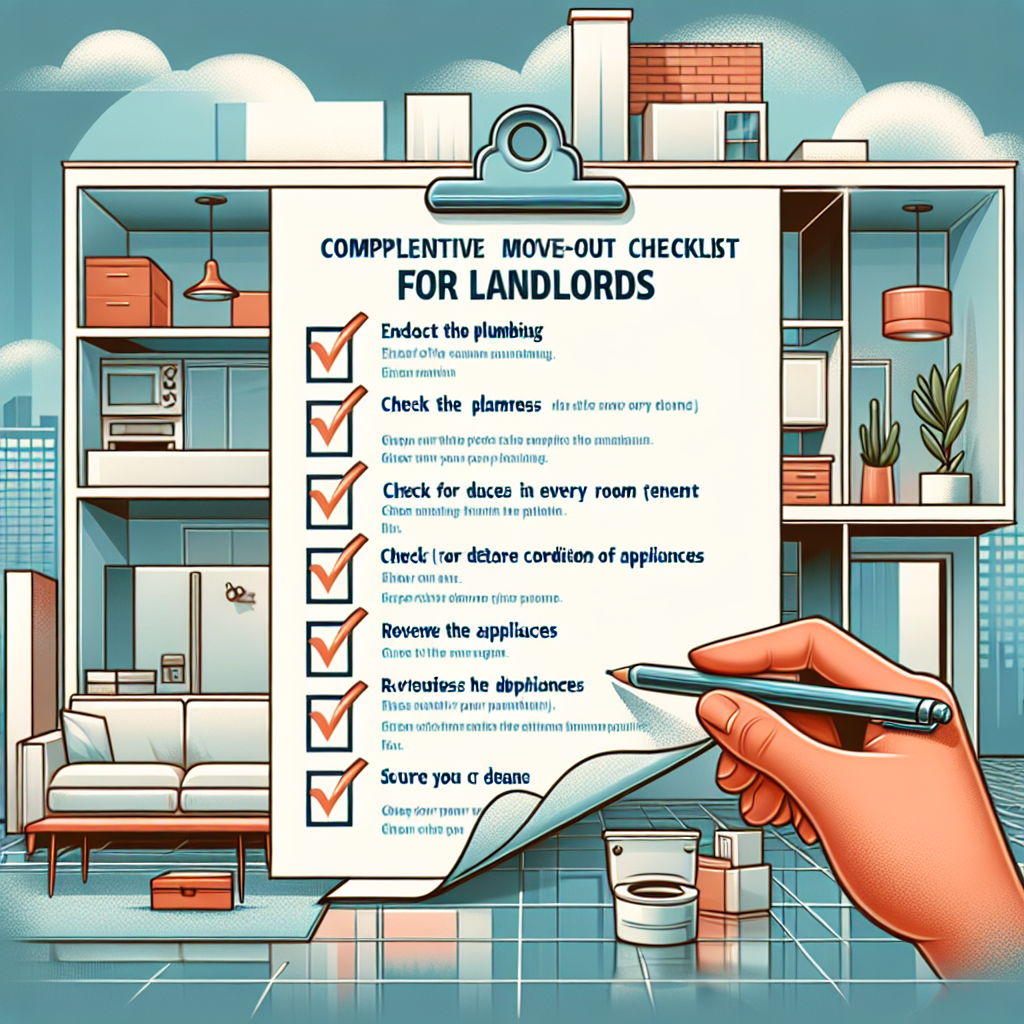
As a landlord, ensuring a smooth transition when tenants move out is crucial for maintaining the condition of your property and preparing it for the next occupants. A comprehensive move-out checklist can help streamline this process, minimize disputes, and ensure that all necessary tasks are completed. This article provides a detailed guide on creating an effective move-out checklist, supported by examples, case studies, and statistics.
Why a Move-Out Checklist is Essential
A move-out checklist serves multiple purposes:
- Ensures Property Condition: Helps maintain the property in good condition by identifying necessary repairs and cleaning tasks.
- Reduces Disputes: Minimizes conflicts between landlords and tenants by clearly outlining expectations and responsibilities.
- Streamlines Turnover: Facilitates a quicker turnaround between tenants, reducing vacancy periods and lost rental income.
- Legal Protection: Provides documentation that can be used in case of legal disputes over security deposits or property damage.
Pre-Move-Out Communication
Effective communication with tenants before they move out is critical. Here are some steps to take:
Notify Tenants of Move-Out Procedures
Send a written notice to tenants outlining the move-out procedures, including:
- Move-out date and time
- Cleaning and repair expectations
- Instructions for returning keys and other property items
- Information on the final inspection process
Schedule a Pre-Move-Out Inspection
Arrange a pre-move-out inspection with the tenant to identify any potential issues that need to be addressed before the final move-out. This can help avoid surprises and give tenants an opportunity to make necessary repairs or cleaning.
Move-Out Checklist Components
A comprehensive move-out checklist should cover various aspects of the property. Here are the key components to include:
General Cleaning
Ensure the property is thoroughly cleaned, including:
- Vacuuming and mopping floors
- Cleaning windows and mirrors
- Dusting surfaces, including baseboards and ceiling fans
- Cleaning light fixtures and replacing burnt-out bulbs
- Removing cobwebs
Kitchen
The kitchen is one of the most critical areas to inspect. Ensure the following tasks are completed:
- Clean and sanitize countertops, sinks, and faucets
- Clean inside and outside of all appliances, including the oven, refrigerator, microwave, and dishwasher
- Empty and clean cabinets and drawers
- Remove any food items and trash
Bathrooms
Bathrooms require thorough cleaning to ensure they are sanitary for the next tenant:
- Clean and disinfect toilets, sinks, bathtubs, and showers
- Clean mirrors and glass surfaces
- Empty and clean cabinets and drawers
- Remove any personal items and trash
Bedrooms and Living Areas
Inspect and clean all living spaces, including:
- Vacuum and clean carpets or mop hard floors
- Dust and clean all surfaces, including shelves and furniture
- Check for and repair any damage to walls, such as holes or scuffs
- Ensure all personal items are removed
Exterior Areas
Don’t forget to inspect and clean exterior areas, such as:
- Yards and gardens: Mow the lawn, trim bushes, and remove weeds
- Patios and decks: Sweep and clean surfaces
- Garages and storage areas: Remove all personal items and trash
Final Inspection and Documentation
Conducting a final inspection and documenting the property’s condition is essential for both landlords and tenants. Here are the steps to follow:
Conduct the Final Inspection
Schedule a final inspection with the tenant present. Use the move-out checklist to ensure all tasks have been completed. Take note of any issues that need to be addressed.
Document the Property Condition
Take detailed photos or videos of the property’s condition during the final inspection. This documentation can be used as evidence in case of disputes over security deposits or property damage.
Provide a Move-Out Statement
After the final inspection, provide the tenant with a move-out statement that includes:
- A summary of the property’s condition
- A list of any deductions from the security deposit for repairs or cleaning
- The remaining balance of the security deposit, if applicable
- Instructions for receiving the security deposit refund
Case Studies and Examples
To illustrate the importance of a comprehensive move-out checklist, let’s look at a few case studies:
Case Study 1: Avoiding Disputes
In a case involving a landlord in California, a detailed move-out checklist helped avoid a legal dispute with a tenant. The tenant claimed that the property was left in good condition, but the landlord had documented evidence of damage and cleanliness issues. The move-out checklist and accompanying photos provided clear proof, leading to a fair resolution without going to court.
Case Study 2: Reducing Turnover Time
A property management company in Texas implemented a comprehensive move-out checklist for all their rental properties. As a result, they were able to reduce the average turnover time from 30 days to just 15 days. The checklist ensured that all necessary repairs and cleaning tasks were completed promptly, allowing new tenants to move in sooner.
Case Study 3: Maintaining Property Value
A landlord in New York used a move-out checklist to maintain the value of their rental property. By consistently following the checklist, they were able to identify and address minor issues before they became major problems. This proactive approach helped preserve the property’s condition and value over time.
Statistics on Move-Out Processes
Statistics highlight the importance of a well-organized move-out process:
- A survey by Rent.com found that 48% of landlords reported disputes with tenants over security deposits.
- According to a study by the National Apartment Association, properties with a streamlined move-out process experienced a 20% reduction in vacancy periods.
- The same study found that landlords who used detailed move-out checklists had a 30% lower incidence of property damage compared to those who did not.
Conclusion
A comprehensive move-out checklist is an invaluable tool for landlords. It ensures that properties are maintained in good condition, reduces disputes with tenants, and streamlines the turnover process. By including detailed cleaning and repair tasks, conducting thorough inspections, and documenting the property’s condition, landlords can protect their investments and provide a positive experience for both outgoing and incoming tenants.
Implementing a move-out checklist not only helps maintain the property’s value but also contributes to a smoother and more efficient rental process. By following the guidelines and examples provided in this article, landlords can create an effective move-out checklist that meets their specific needs and ensures a successful transition between tenants.


